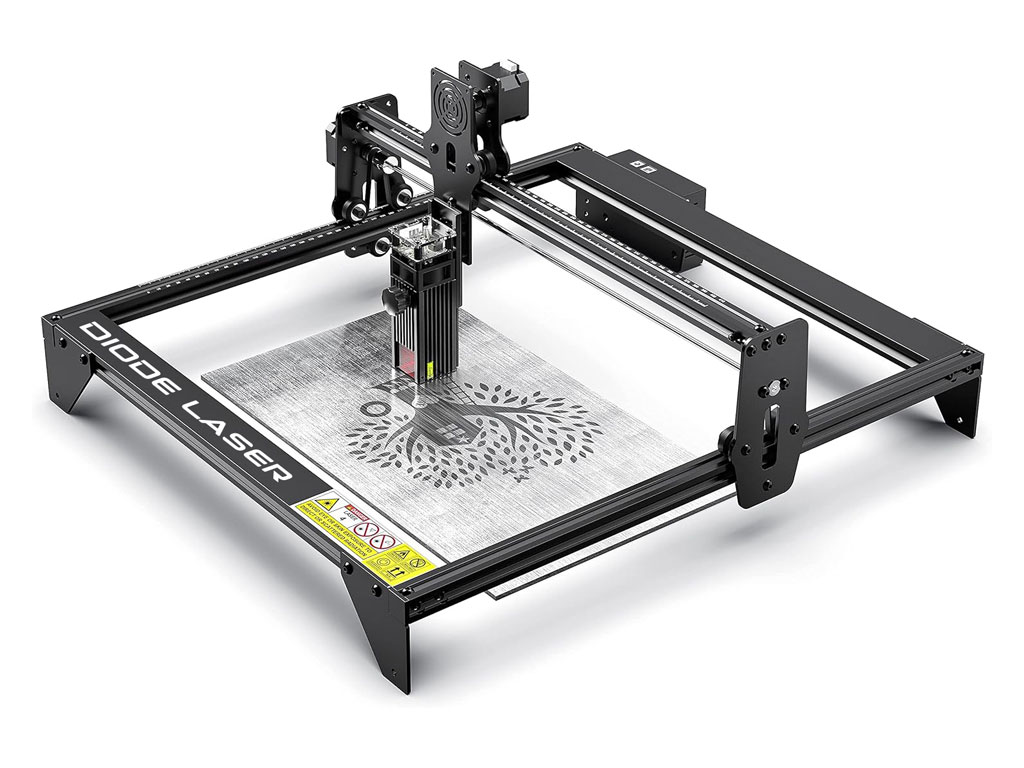
Laser Engraver Settings for Beginners: Speed, Power, and Material Guide (Diode Lasers)
Getting clean, repeatable results with a diode laser comes down to balancing power, speed, passes, focus, and air assist. This beginner-friendly guide explains how these settings interact, how wattage (5W vs 10W vs 20W) changes what’s possible, and provides practical starting points for common materials.
In This Guide
- Why Settings Matter
- Core Settings to Know
- Wattage Considerations (5W vs 10W vs 20W)
- Understanding Speed vs Power
- Recommended Settings by Material
- Power/Speed/Passes Chart (by Wattage)
- Tips for Dialing In
- Beginner Mistakes to Avoid
- Get Started
1) Why Settings Matter
Diode lasers are versatile, but the machine can only do what your settings tell it to. Too much power at too slow a speed scorches edges; too little power at too high a speed leaves faint marks and incomplete cuts. Learn the interplay once, and you’ll save time, material, and frustration on every project.
2) Core Settings Every Beginner Should Know
- Power (%): The percentage of your module’s maximum output. 50% on a 20W diode is roughly 10W; 50% on a 5W is ~2.5W.
- Speed (mm/min or mm/s): How fast the head moves. Slower for cutting, faster for light engraving.
- Passes: Repeating the same toolpath. Multiple moderate passes often look cleaner than one scorched high-power pass.
- Focus: Correct lens-to-material distance gives the smallest spot, sharper detail, and narrower kerf.
- Air Assist (if available): Blows debris and smoke away from the beam. Improves cut quality and reduces scorch marks.
Photo Credit: Cloudray
3) Wattage Considerations (5W vs 10W vs 20W)
“100% power” means different things depending on the laser’s wattage. Use these general ranges as a capability map:
- 5W diodes: Great for engraving wood, leather, paper; light cutting (≈2–3 mm soft wood) with multiple passes.
- 10W diodes: Balanced option for engraving and moderate cutting (≈3–5 mm plywood/acrylic) with multiple passes.
- 20W+ diodes: Faster engraving at lower power; can cut thicker stock (up to ≈8–10 mm wood with passes).
Note: The charts below provide starting ranges for 5W, 10W, and 20W. Always run a small test first—materials vary by brand, glue content (plywood), color, and moisture.

Photo Credit: OmTech
4) Understanding Speed vs Power
- High power + low speed: Deeper cuts but more risk of charring and wider kerf.
- Low power + high speed: Light marks; good for surface engraving and crisp detail.
- Medium power + medium speed: A safe starting point for most engravings.
Pro tip: Make a quick power/speed test grid on each material (10–15 squares at different combinations). Keep the best tile as your reference.
5) Recommended Beginner Settings by Material (Diode Lasers)
Wood (Plywood, MDF, Hardwood)
- Engraving: Start medium speed and moderate power (see chart below). Hardwoods need slightly more power than softwoods.
- Cutting (3–5 mm ply): High power, slower speed, 2–3 passes. Masking tape helps reduce smoke stains.
- Notes: Plywood varies by glue content; MDF chars easily—use air assist and consider more, lighter passes.
Acrylic (Opaque/Cast vs Clear)
- Opaque cast acrylic: Engraves well; can be cut with multiple passes.
- Clear acrylic: Diode wavelength passes through—cutting is unreliable. Use painted/blackened surface for engraving only.
- Notes: Air assist reduces melty edges; multiple passes at moderate power often look better than one slow, hot pass.
Leather
- Engraving: Lower power, faster speed to avoid scorching oils.
- Cutting: Moderate to high power, slower speed, 1–3 passes depending on thickness.
- Notes: Ventilation is essential. Some leathers darken unpredictably—test first.
Paper & Cardboard
- Engraving: Very low power, high speed.
- Cutting: Low power, moderate speed; one clean pass is safest.
- Notes: Highly flammable—never leave unattended. Keep a spray bottle nearby.
Photo Credit: Style CNC
Anodized / Coated Metal (Marking Only)
- Engraving/Marking: Low power, high speed for crisp surface marks.
- Notes: Diode lasers cannot cut metal. Bare aluminum won’t mark well without coatings.
6) Power/Speed/Passes Reference Chart (Diode Lasers)
Use these as starting points. Adjust for your machine, optics cleanliness, air assist, and specific material brand. Speeds are shown in mm/min.
| Material | 5W Module (Output) | 10W Module (Output) | 20W Module (Output) | Notes |
|---|---|---|---|---|
| Wood (3 mm ply) | Engrave: 40–60% @ 2000–3000 Cut: 100% @ ~300, 3–4 passes |
Engrave: 30–50% @ 3000–5000 Cut: 90–100% @ ~600, 2–3 passes |
Engrave: 20–40% @ 5000–8000 Cut: 80–100% @ ~1000, 1–2 passes |
Masking reduces scorch; plywood glue varies. |
| Acrylic (opaque, 3 mm) | Engrave: 60–80% @ ~2000 Cut: 100% @ ~200, 6–8 passes |
Engrave: 40–60% @ ~3000 Cut: 100% @ ~400, 3–4 passes |
Engrave: 30–50% @ ~4000 Cut: 100% @ ~600, 2–3 passes |
Diodes won’t cut clear acrylic; use opaque/cast. |
| Leather (2–3 mm) | Engrave: 20–40% @ 3000–4000 Cut: 100% @ ~400, 3 passes |
Engrave: 15–30% @ 4000–6000 Cut: 80–100% @ ~600, 2 passes |
Engrave: 10–20% @ 6000–8000 Cut: 70–90% @ ~800, 1–2 passes |
Strong ventilation recommended; test for darkening. |
| Paper/Cardboard | Engrave: 5–15% @ 5000–8000 Cut: 20–30% @ ~3000, 1–2 passes |
Engrave: 5–10% @ 6000–9000 Cut: 15–25% @ ~4000, 1 pass |
Engrave: 5–8% @ 8000–10000 Cut: 10–20% @ ~5000, 1 pass |
Highly flammable. Never leave unattended. |
| Anodized/Coated Metal | Mark: 10–20% @ 2000–3000 | Mark: 10–15% @ 4000–5000 | Mark: 5–10% @ 6000–8000 | Surface marking only; cannot cut metal with diodes. |
7) Tips for Dialing In Your Settings
- Run a test grid: A 4×4 or 5×5 matrix of speed/power squares on scrap will save jobs and bits.
- Use masking on wood: Blue painter’s tape reduces smoke stains; peel after engraving.
- Prefer more passes over more power: Cleaner edges, less char, especially on wood and acrylic.
- Keep optics clean: Dust and resin cut effective power and blur the spot.
- Refocus for new thickness: Even a few millimeters off hurts cut quality.
- Mind duty cycle: Don’t run 100% power continuously; it shortens diode lifespan.
8) Common Beginner Mistakes
- Trying to cut clear acrylic with a diode laser.
- Running everything at 100% power, all the time.
- Skipping air assist for cuts in wood/acrylic.
- Forgetting to re-focus between materials or after re-clamping.
- Not accounting for material variability (plywood glue layers vary by brand).
9) Get Started
Use the ranges above as your baseline, then refine with a quick test grid for each material and diode wattage. Once dialed in, you’ll get clean results in fewer passes and spend more time making than troubleshooting.


